resi-CRETE Texture and Structure Medium Turquoise 1 kg


OUR RESI-CRETE FOR STRUCTURE AND HAPTIC
That's it.
resi-CRETE is a fascinating medium with which you can create fascinating structures on your artwork. It's easy, safe and quick to use, and you can also mix resi-CRETE with other products to achieve unique results.
It can.
resi-CRETE is a pre-pigmented, cement-like powder that can be mixed with both acrylic emulsion and resin. With the help of resi-CRETE you can create a structural and haptic experience for your pictures. Create surfaces with resi-CRETE that are reminiscent of concrete or relief-like structures with cracks or furrows. The look depends on how you apply resi-CRETE and what materials you add to it.
That's what it's for.
resi-CRETE is one of the lightweight materials you can use for art with texture and feel. The resi-CRETE provides excellent and quick coverage on surfaces such as wood, glass, steel, metal, stone, ceramics and much more.
Particularities.
Due to its pre-pigmentation, resi-CRETE is one of the easiest media to create structures. It can also be colored, there are different ways of using it and it is wonderfully suited for working with Resin.
Measuring, mixing and processing resi-CRETE
For a concrete-like surface
1.) Put the resi-CRETE powder in a suitable mixing cup.
2.) Add a small amount of acrylic emulsion. Use a plastic spatula for this. Stir slowly and carefully; for 3-5 minutes; also on the bottom and edges of the mixing cup.
3.) Your mixture must reach a pasty consistency. To do this, you can continue to add acrylic emulsion while stirring constantly. Make sure you get a smooth mixture with no lumps.
4.) The right consistency has been reached when the mixture of resi-CRETE and acrylic emulsion no longer flows.
5.) The less acrylic emulsion you add, the firmer your structure paste will be. It can be applied and designed three-dimensionally.
6.) Your mixture is ready and you now have 25-30 minutes to process the resi-CRETE. Then the hardening process begins.
7.) You have prepared your painting surface beforehand, which means: it has been dusted off, degreased and is lying flat on your work surface. Now apply the mixture to your painting Surface.
For a relief-like surface
1.) Put the resi-CRETE powder in a suitable mixing cup.
2.) Add a small amount of acrylic emulsion. Use a plastic spatula for this. Stir slowly and carefully; for 3-5 minutes; also on the bottom and edges of the mixing cup.
3.) Your mixture must reach a very firm consistency. Make sure you get a firm mixture with no lumps.
4.) The right consistency is reached when the mixture of resi-CRETE and acrylic emulsion stops flowing and has reached a solid state.
5.) Apply the mass a little thicker to your surface and briefly heat it up with a hair dryer or let your work of art dry in the sun. These processes increase cracking.
6.) Your mixture is ready and you now have 25-30 minutes to process the resi-CRETE. Then the hardening process begins.
7.) You have prepared your painting surface beforehand, which means: it has been dusted off, degreased and is lying flat on your work surface. Now apply the mixture to your painting Surface.
For putty based on resin
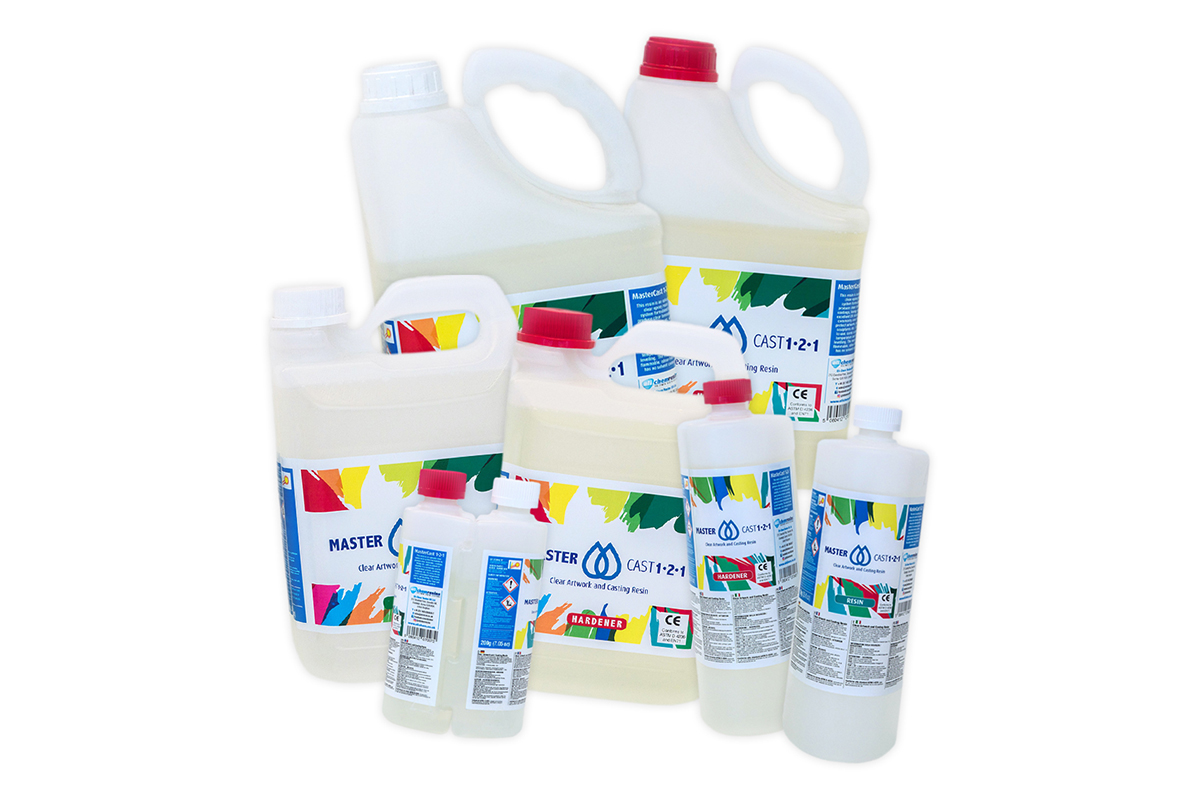
1.) Resin and hardener of MASTERCAST 1-2-1 are mixed by volume 1:1. Place the two components in a suitable mixing cup. (TOTALCAST and ULTRACAST XT are also suitable.)
2.) Add resi-CRETE and stir the measured amount in the mixing cup. Use a plastic spatula for this. Stir slowly and carefully; for 3-5 minutes; also on the bottom and edges of the mixing cup.
3.) The mixing ratio should be 40 grams of resi-CRETE to 100 ml of resin.
4.) Your mixture is ready and you now have 25-30 minutes to process the resi-CRETE. Then the hardening process begins.
5.) You have prepared your painting surface beforehand, which means: it is dusted, degreased and lying flat on your work surface. Now apply the mixture to your painting Surface.
You should pay attention to this when working with Resin.
• Always wear nitrile gloves.
• It is advisable to work in a well-ventilated area and to wear a respirator.
• Avoid skin contact (if resin gets on skin, wash with plenty of soap and water).
• DO NOT eat, drink or smoke while working.
• If eyes get dirty, wash with plenty of water for 15 minutes and seek medical attention immediately.
Login