
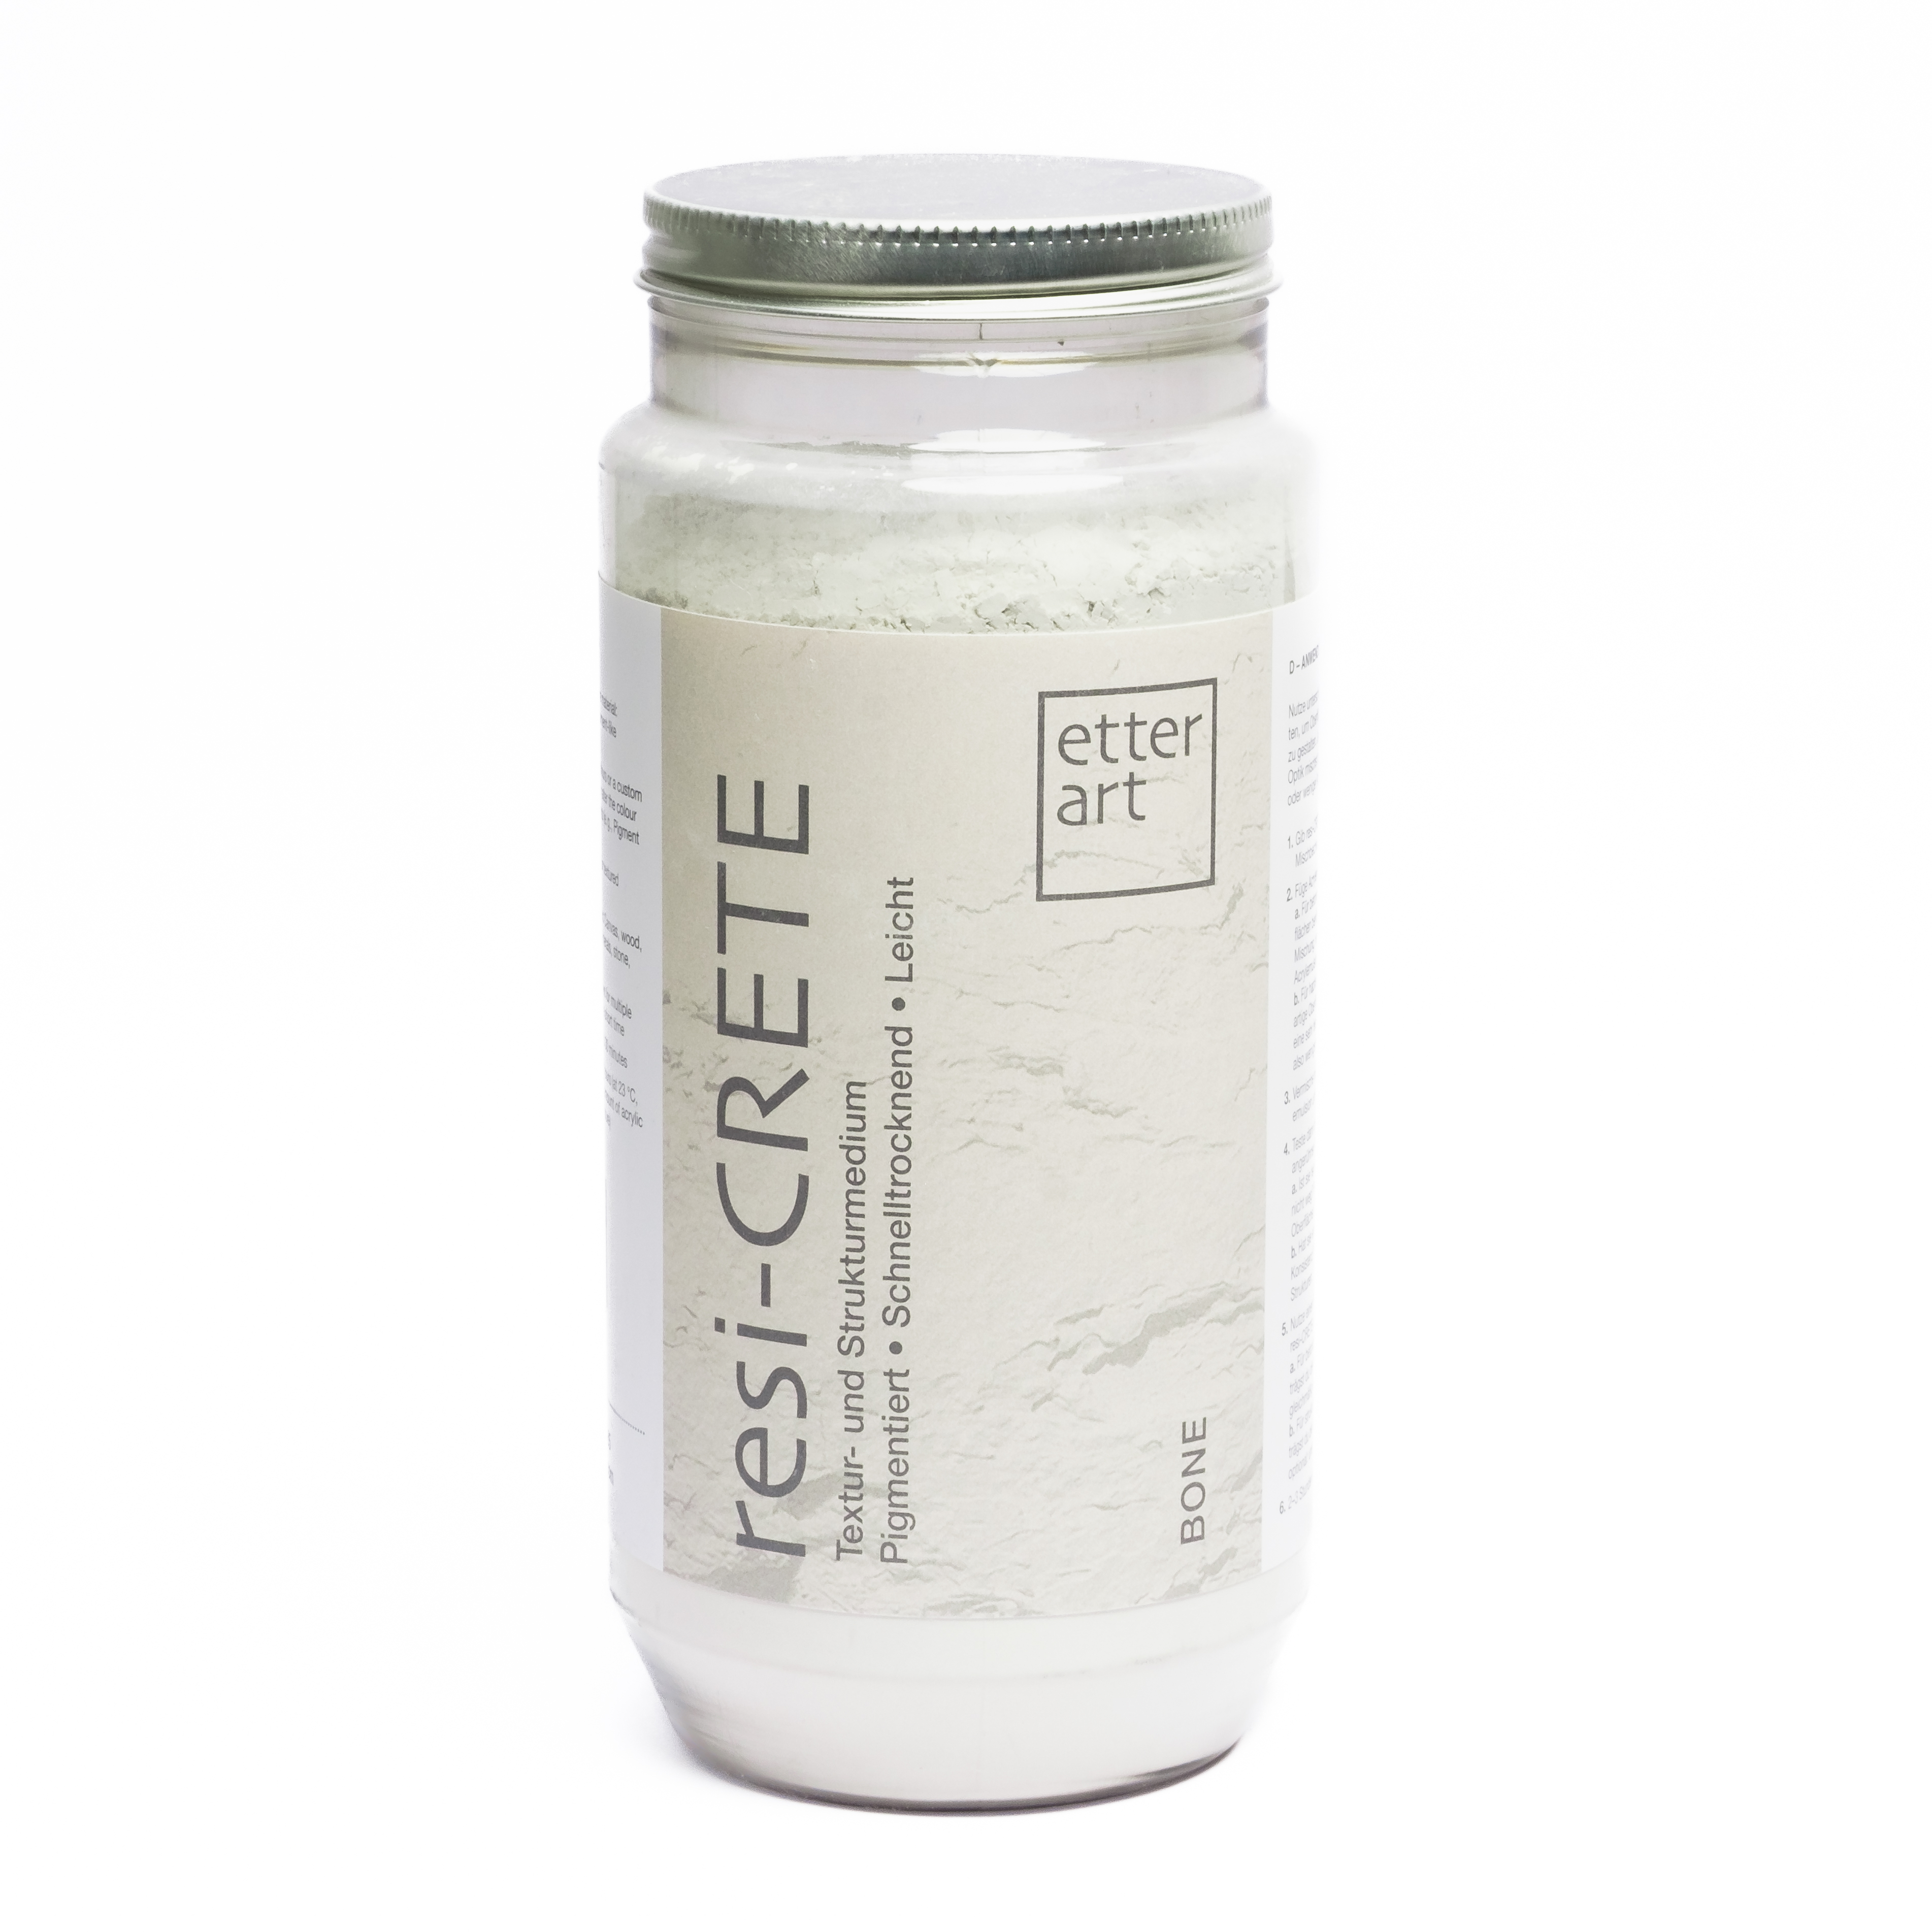
resi-CRETE 800 g Bone
resi-CRETE: Structure and Texture for Your Artwork
resi-CRETE is a fascinating medium that allows you to create stunning textures and dimensional effects in your artwork. It is easy, safe, and quick to use, and can also be mixed with other products to achieve truly unique results.
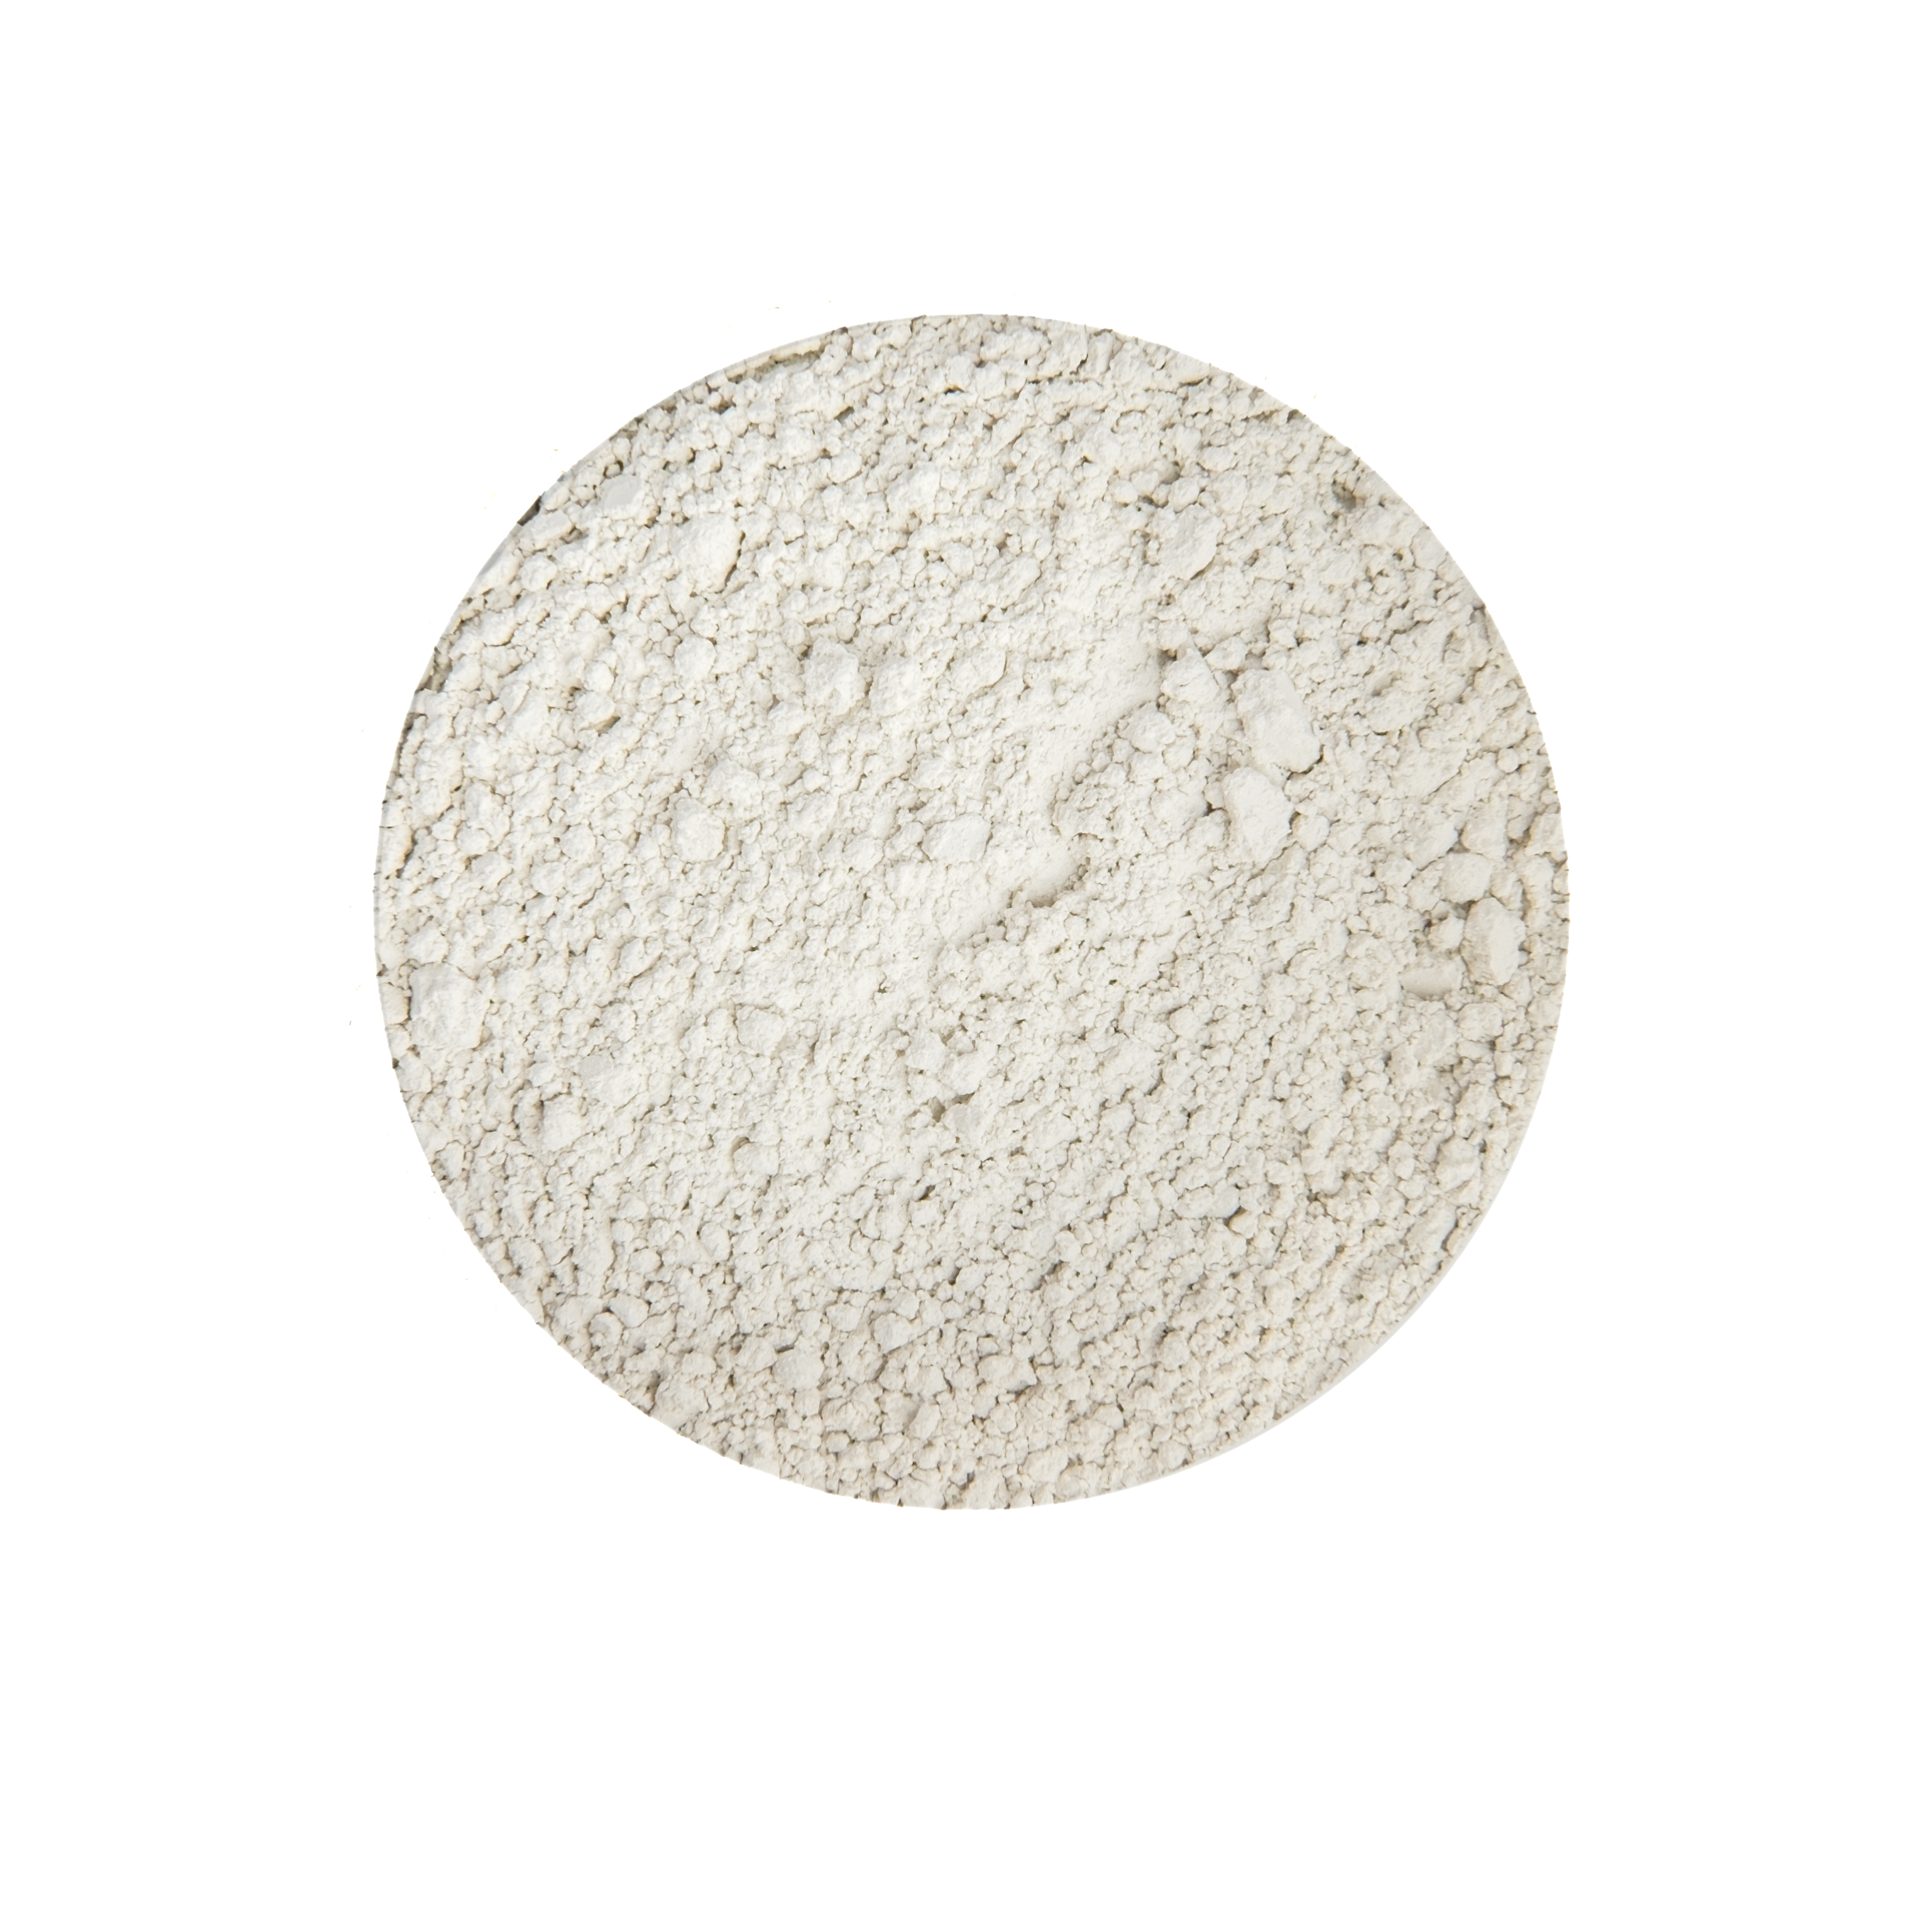
resi-CRETE is a pre-pigmented, cement-like powder that can be mixed with either acrylic emulsion or resin. It enables you to give your artwork both structural depth and tactile appeal. Create concrete-like surfaces or relief-style textures with cracks and grooves. The final look depends on how you apply resi-CRETE and which additional materials you incorporate.
Applications of resi-CRETE
resi-CRETE is one of the lightweight materials you can use to create textured and tactile artwork. It offers excellent coverage and adheres quickly to a wide variety of surfaces, including wood, glass, steel, metal, stone, ceramic, and many more.
Key Features of resi-CRETE
Thanks to its pre-pigmented formulation, resi-CRETE is one of the easiest media for creating textured surfaces. It can also be tinted with additional colors, offers various application techniques, and is perfectly suited for working with resin.
How to Use resi-CRETE
For a Concrete-Like Surface
Step 1: Pour the resi-CRETE powder into a suitable mixing cup.
Step 2: Add a small amount of acrylic emulsion using a plastic spatula. Stir slowly and thoroughly for 3–5 minutes, making sure to scrape the bottom and sides of the mixing cup.
Step 3: Your mixture should reach a paste-like consistency. While stirring continuously, gradually add more acrylic emulsion until you achieve a smooth, lump-free mixture.
Step 4: The correct consistency is reached when the resi-CRETE and acrylic emulsion mixture no longer flows.
Step 5: The less acrylic emulsion you add, the firmer the texture paste becomes. This allows you to apply and shape it in three dimensions.
Step 6: Your mixture is now ready. You have approximately 25–30 minutes to work with the resi-CRETE before the curing process begins.
Step 7: Prepare your substrate beforehand by ensuring it is clean, dust-free, grease-free, and lying flat on your work surface. Then apply the mixture to your substrate.
For a Relief-Style Surface
Step 1: Pour the resi-CRETE powder into a suitable mixing cup.
Step 2: Add a small amount of acrylic emulsion using a plastic spatula. Stir slowly and thoroughly for 3–5 minutes, making sure to scrape the bottom and sides of the mixing cup.
Step 3: Your mixture should reach a very firm consistency. Ensure that the mixture is smooth and free of lumps.
Step 4: The correct consistency is reached when the resi-CRETE and acrylic emulsion mixture no longer flows and has become firm.
Step 5: Apply the mixture generously to your substrate and briefly warm it with a heat gun or hair dryer, or allow your artwork to dry in direct sunlight. These methods will enhance crack formation.
Step 6: Your mixture is now ready. You have approximately 25–30 minutes to work with the resi-CRETE before the curing process begins.
Step 7: Prepare your substrate beforehand by ensuring it is clean, dust-free, grease-free, and lying flat on your work surface. Then apply the mixture to your substrate.
For a Resin-Based Sculpting Paste
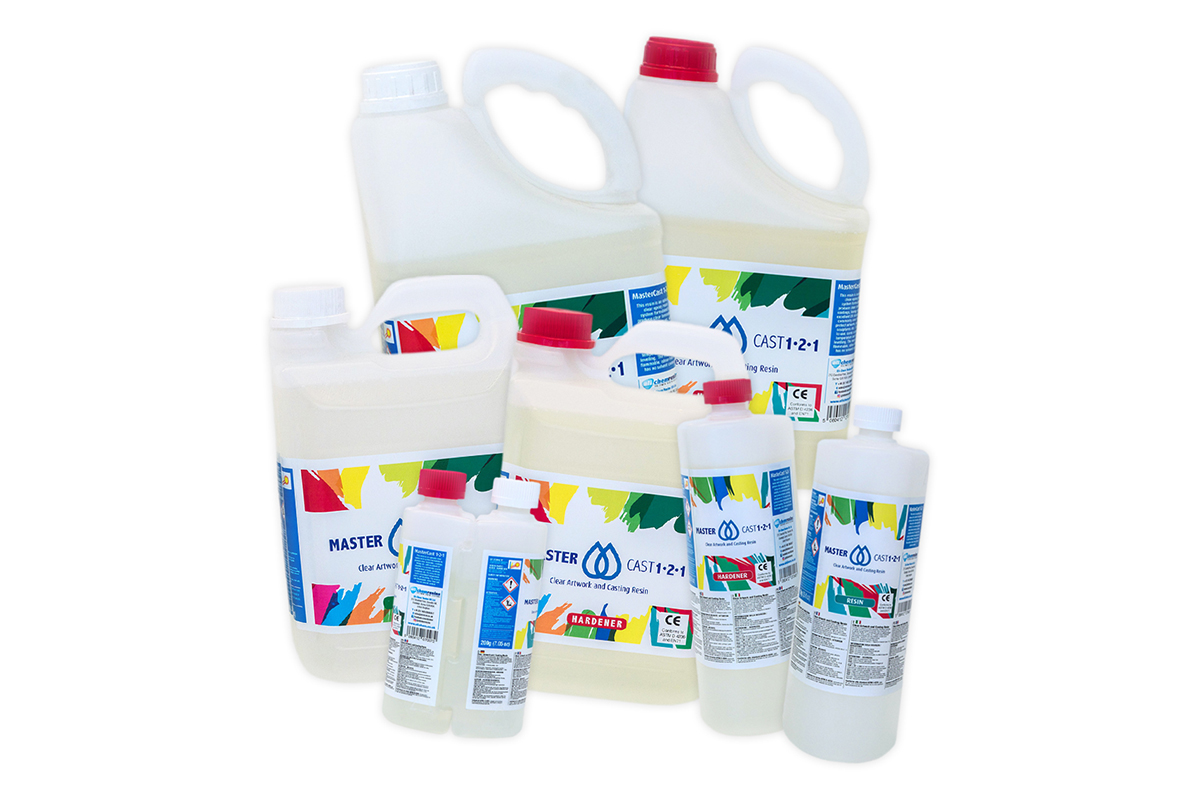
Step 1: Mix the resin and hardener of MASTERCAST 1-2-1 at a 1:1 ratio by volume. Pour both components into a suitable mixing cup. (TOTALCAST and ULTRACAST XT are also suitable.)
Step 2: Add resi-CRETE and stir the measured amount into the mixture using a plastic spatula. Stir slowly and thoroughly for 3–5 minutes, making sure to scrape the bottom and sides of the mixing cup.
Step 3: The recommended mixing ratio is 40 g of resi-CRETE per 100 ml of resin.
Step 4: Your mixture is now ready. You have approximately 25–30 minutes to work with the resi-CRETE before the curing process begins.
Step 5: Prepare your substrate beforehand by ensuring it is clean, dust-free, grease-free, and lying flat on your work surface. Then apply the mixture to your substrate.
Important Safety Information
- Always wear nitrile gloves.
- It is recommended to work in a well-ventilated area and wear a suitable respirator.
- Avoid skin contact (if resin comes into contact with your skin, wash immediately with plenty of soap and water).
- Do NOT eat, drink, or smoke while working.
- If the product gets into your eyes, rinse immediately with plenty of water for at least 15 minutes and seek medical attention.
Login
6 November 2025 18:45
Perfekte Struktur für Sandstrände
Ich arbeite gerne in der Ocean-Art. Dafür brauche ich einen möglichst naturgetreuen Strand. Das Resi-Crete ist ideal dafür. Ich kann es dünner oder wie eine dicke Masse anrühren und verarbeiten. So kann ich Sandstrände oder Felsen herstellen. Das Anrühren geht am besten mit dem gelben Spatel (gibts hier im Shop beim Zubehör) , damit kann man die Struktur auch auf dem Untergrund auftragen und gestalten. Es härtet relativ schnell aus, so dass ich nicht lange warten muss, bis ich ein Bild weiter bearbeiten kann. Man kann Resi-Crete einfärben, aber auch im getrockneten Zustand bemalen, besprühen oder mit Kreide bearbeiten. Es eignet sich auch für die Schablonentechnik.
12 December 2024 09:52
Späte Lieferung
Leider kam die Lieferung fast 1 Monat später. Ich habe selbst angerufen, da keine Nachricht oder Benachrichtigung vom Hersteller kam. Es kann immer zu Lieferschwierigkeiten kommen, aber dann sollte man die Käufer Informieren.